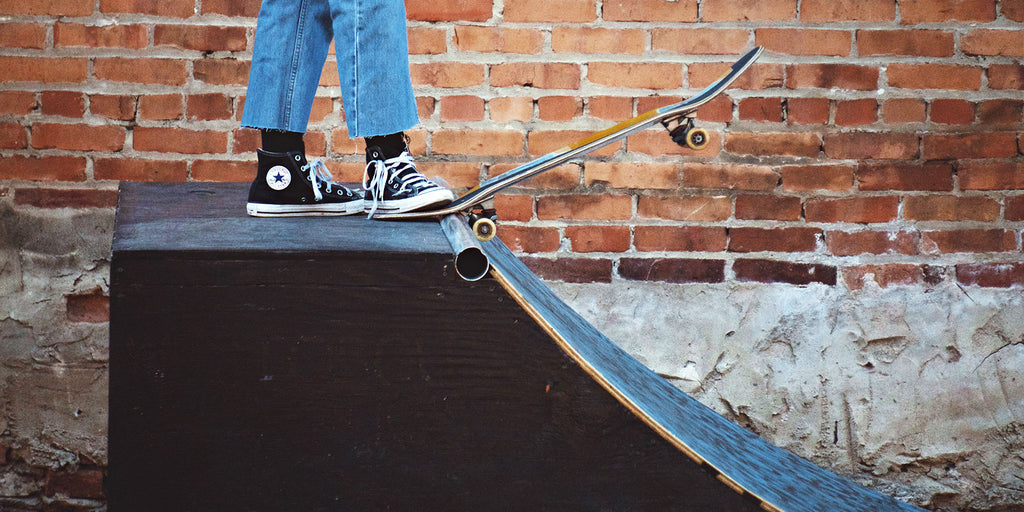
How to Build a Skateboard Ramp

While skateparks offer way more options than your backyard, having a space to practice that’s all yours can be a huge benefit as you continue to improve. It makes it easier to get in a quick skate session in between the drudges of your daily routine. Especially during the summers when the park is packed with kids, having your own space is a godsend. Use this checklist to build your own mini skateboarding ramp.
Survey the Space
Obviously, you want to make sure you have enough space to build a ramp. But there are a few more aspects to consider. Depending on where you live, it’s likely that your city or neighborhood has rules regarding how big the ramp can be, where you can build it and the noise it might cause. You also need to think about any maintenance it might need depending on where you build it, especially if you live in an area that rains frequently.
Create a Building Plan
Unless you have a background in construction or friends that have built a ramp before, you’re probably starting from scratch when it comes to putting together a plan. Luckily, there are tons of resources from others who have done it before that you. Sites like DIYSkate are great starting points for getting details on the type of lumber and hardware you’ll need before you start building.
Build the Frame
Start by building the frame of your ramp — the back, base and edge beams — along with a few stabilizing beams to create the structure. Where these go and how big they are depend on what type of ramp you’re building and how bit it will be. The most important factor is that you use a sturdy wood and are generous with the nails. Each nail increases the support, which is a core quality to any ramp you build!
Build the Ramp Supports
Again, the amount of supports you need and how big they are depend on the type of ramp you’re building, but the goal here is to create some stability and minimize flexibility of the part of the ramp that you’ll actually be skating on. Generally, this support system includes a row of two-by-fours or two-by-sixes that will act as the base to place your plywood surface on. When building this part, the closer together your support beams are, the stronger your ramp will be.
Create the Surface
The primary construction of your surface will be with plywood. However after the plywood is attached, it’s a good idea to take a few sheets of Masonite or Skatelite™ to cover the plywood. This will create the smooth surface that’s necessary for skateboarding. To finish it off, add a sheet of steel to the bottom of the ramp where it meets the ground. This will create a smooth transition and minimize how much it slows down your board.
Credit: Photo by Jase Daniels on Unsplash
- Outdoors Staff


Comments 0